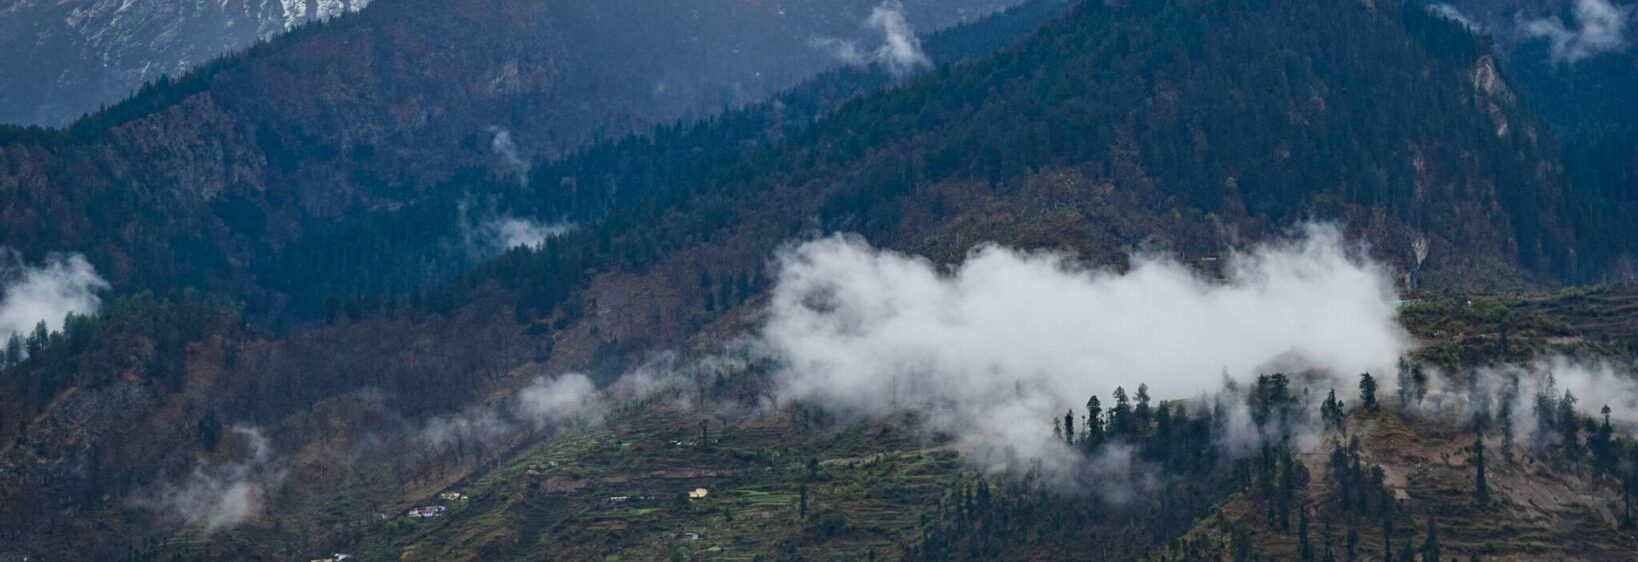
The Chopta Snow Plough: Capturing a Winter Landscape
Chopta changes character when winter settles across the meadows and forest paths. The familiar green slopes become broad fields of white, while deodar, oak, and rhododendron branches hold soft layers of snow. In this quiet season, every track becomes part of the landscape’s story.
A snow plough moving through the mountain road adds a strong human element to these scenes. Its cleared route, steel blade, and churned banks create lines that lead the eye toward distant ridges. Photographers can use this contrast between working infrastructure and untouched snow to make images feel distinctly Himalayan.
The best photographs do not depend on heavy snowfall alone. Timing, weather, exposure, and respect for local conditions matter just as much. For visual travel stories and regional photography, UK Photos Gallery offers a useful sense of how Uttarakhand’s places can be documented through atmosphere and detail.
Finding the right winter light
Early morning gives fresh snow a blue cast, especially in shaded sections beneath the forest canopy. As sunlight reaches the slopes, the snow becomes warmer and more dimensional. The first two hours after sunrise are ideal for long shadows, crisp textures, and glowing mountain edges.
Overcast weather should not be dismissed. Diffused light reduces harsh highlights and reveals subtle variations in snowdrifts, tire marks, and cloud-covered ridges. A low winter cloud can also make the landscape feel deeper by hiding and revealing the hills in layers.
Turning the plough into a subject
A snow plough works best as more than a central object. Place it near one side of the frame and allow the cleared road to curve through the image. This creates a natural leading line while showing the scale of the task and the surrounding snowfield.
Look for moments when the blade pushes a wave of powder, headlights glow through falling flakes, or workers inspect the route. A wide composition can communicate isolation, while a closer frame may capture frozen mud, scratched metal, and compacted snow. These small details give a winter travel photograph a sense of place.
Camera settings for snow scenes
Snow often tricks a camera into underexposing the scene because the meter reads the bright surface as middle grey. A small positive exposure adjustment can keep the snow looking clean, but check the histogram so highlights retain texture. Shooting in RAW gives greater control over shadow and highlight recovery.
| Scene or subject | Useful starting point | Main adjustment |
|---|---|---|
| Bright open snowfield | ISO 100–200, f/8 | Increase exposure carefully |
| Moving plough | 1/500 sec or faster | Raise ISO if needed |
| Snowfall detail | 1/250–1/500 sec | Use a dark background |
| Forest and mountain layers | f/8–f/11 | Focus around the middle distance |
| Blue-hour road scene | ISO 400–800, tripod | Protect highlights from lamps |
A polarising filter can deepen the sky and reduce reflections, although it may be less effective when the sun is low or hidden by cloud. Spare batteries should remain inside an inner pocket, since cold temperatures reduce battery life quickly.
Composing roads, ridges, and forests
The cleared road provides a visual entrance into the photograph. Stand safely away from traffic and use its curves to connect foreground snow with the distant Chandrashila or Tungnath direction, when visibility allows. Avoid placing every subject in the centre; off-centre framing usually creates more movement.
Snow-covered trees are especially effective when photographed in layers. Begin with textured footprints or plough ridges in the foreground, add a dark forest band, and finish with pale peaks or a shifting sky. This arrangement creates depth even when mist hides the far horizon.
Working safely around changing weather
Chopta’s winter access can change quickly because of snowfall, ice, and temporary road closures. Check local travel conditions before setting out, carry warm waterproof layers, and avoid walking onto unstable snowbanks beside a newly cleared road. A vehicle’s route may be active even when the surroundings look silent.
Tripods should be placed where they cannot obstruct workers or vehicles. Keep a safe distance from the plough, never stand in front of its path, and ask before photographing people closely. The strongest documentary image is one made without interrupting snow-clearing work or local routines.
Field notes for stronger photographs
A simple plan helps balance creativity with practical mountain travel. Record the time, weather, viewpoint, and road condition alongside the images. These notes can later turn a photo sequence into a useful account of winter tourism in Garhwal.
Consider these habits during a snow photography walk:
- Carry a lens cloth, rain cover, spare batteries, and a small dry bag.
- Use footprints, blade marks, and road curves as leading lines.
- Photograph both wide landscapes and close textures for visual variety.
- Leave room for local traffic and follow instructions from road crews.
- Protect fragile vegetation by staying on established paths.
Return visits can reveal how quickly the scene changes. Fresh snowfall may erase every track, while a sunny afternoon can expose grass and stone along the road edges. Photographing both conditions creates a richer record than waiting for a single perfect view.
A thoughtful Chopta winter series can show beauty, labour, weather, and access in the same frame. Pack for the cold, travel responsibly, and give the snow-clearing journey the same attention as the mountain panorama. Share the resulting images as a grounded visual diary of Uttarakhand in winter.