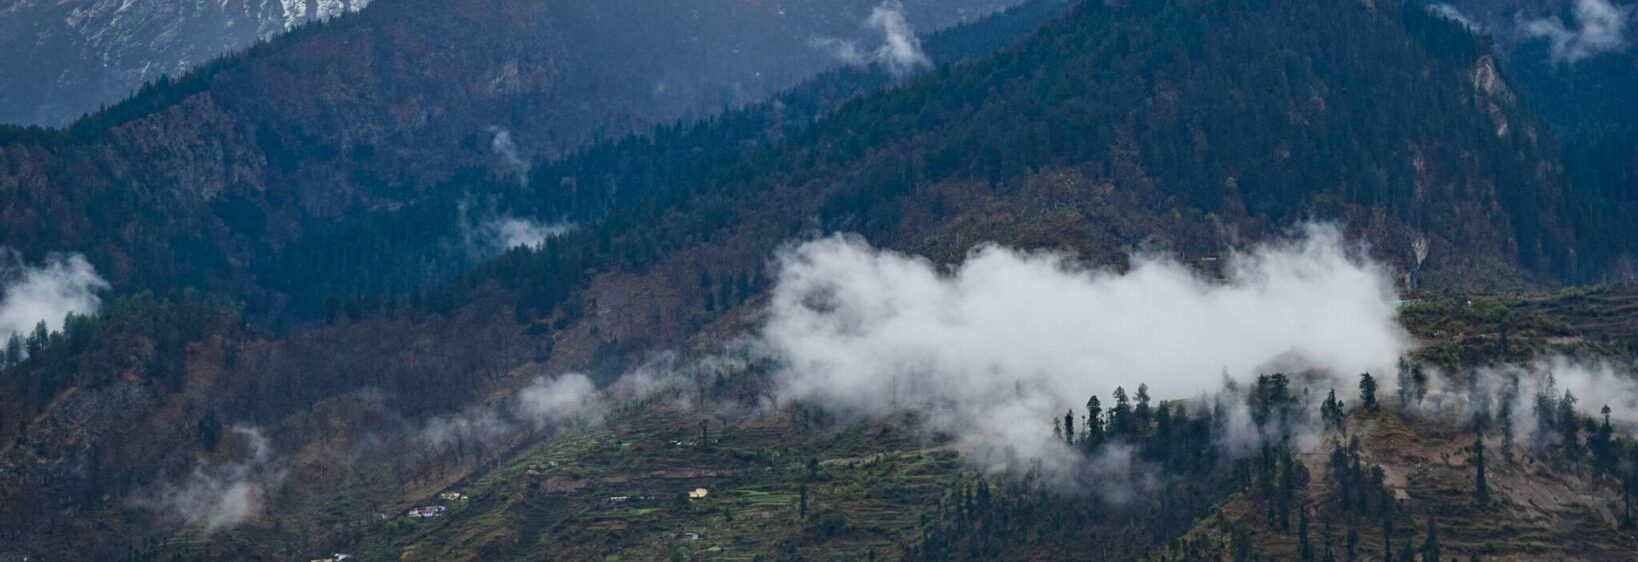
The Dronagiri Mountain: A Photographer’s Challenge from Munsiyari
Munsiyari is celebrated for its broad Himalayan views, forest trails, and dramatic changes in mountain light. For photographers, the area offers more than postcard scenery: clouds move quickly across the ridges, villages appear briefly between slopes, and distant peaks can disappear before a camera is ready.
Dronagiri adds a more demanding dimension to this visual journey. The mountain is associated with the high valleys of Chamoli, while Munsiyari lies in Kumaon, so photographing it from the town is a study in distance, atmosphere, and careful planning rather than a simple viewpoint visit.
The result can be a memorable landscape series built around scale. Snowfields, ridgelines, prayer flags, oak forests, and the quiet rhythm of mountain life all help place the peak within Uttarakhand’s living cultural landscape.
Understanding The Mountain And The View
Dronagiri, also known as Dunagiri in some references, is linked with the Niti Valley region of Chamoli district. It should not be confused with the similarly named Dunagiri area near Ranikhet. This distinction matters when researching maps, local transport, weather, and trekking permissions.
From Munsiyari, the photographic challenge is largely about creating a sense of connection between distant Himalayan terrain and the foreground. The most effective image may include a village roof, a trail, or a flowering meadow rather than relying on a tight frame of the summit alone.
Why Munsiyari Creates A Strong Base
Munsiyari provides useful access to high viewpoints, forest paths, and settlements around the Johar Valley. Locations such as Khaliya Top and nearby ridges can offer expansive compositions, although the exact visibility of distant peaks depends on weather, haze, and the direction of the view.
The town is also valuable for cultural photography. Traditional houses, woollen crafts, mountain farms, and local shrines can give the photo story a human scale. Always ask permission before photographing residents, homes, rituals, or religious ceremonies.
Light, Weather, And Seasonal Timing
Early morning is usually the safest period for clear mountain layers. Before sunrise, cool blue tones can describe depth; shortly afterward, warm light may pick out snow lines and rock faces. Late afternoon can work well when clouds gather behind the ridges, but fading light makes handheld photography difficult.
Spring brings blossoms and fresh vegetation, while autumn often offers sharper skies after the monsoon. Winter can provide snow-covered surroundings but may close roads or restrict access. Monsoon months create rich greens and moody cloudscapes, yet rain, mist, and slippery trails can hide the mountain entirely.
| Photographic Aim | Useful Conditions | Main Difficulty |
|---|---|---|
| Distant mountain profile | Clear autumn morning | Haze and atmospheric compression |
| Snow and ridge detail | Winter or early spring | Cold batteries and access problems |
| Village-and-mountain composition | Soft morning or evening light | Finding a respectful foreground |
| Cloud-filled landscape | Post-monsoon or changing weather | Rapidly shifting visibility |
| Trail and trekking story | Early daylight | Uneven paths and limited transport |
Building A Layered Composition
A distant peak often looks smaller than expected in a photograph. Use foreground and middle-ground elements to restore scale: a stone wall, shepherd’s path, pine trunk, prayer flag, or person walking with permission. A telephoto lens can compress several ridges, while a wide lens can show the relationship between the settlement and the mountain.
Avoid filling every frame with sky. Ridges placed across the lower or middle portion of the image can create depth, especially when atmospheric haze separates each layer. A tripod is useful for dawn exposures, panoramas, and focus stacking, but it should never block a narrow trail or disturb other visitors.
Equipment And Field Preparation
A weather-sealed camera, spare batteries, lens cloths, and a lightweight tripod are practical choices for high-altitude photography. Keep batteries warm inside an inner pocket, protect equipment from sudden rain, and carry enough memory cards because remote areas may offer limited charging facilities.
The physical demands should be treated seriously. Munsiyari’s altitude, steep paths, cold wind, and changing weather can affect both photographer and equipment. Anyone extending the trip into a serious Himalayan trek should study route conditions separately; the planning principles described in this high-altitude trekking guide are useful for understanding acclimatisation, permits, packing, and safety.
A Practical Field Checklist
A successful mountain photo outing depends as much on patience and local awareness as on camera settings. Check road access, sunrise direction, forecast, and guide availability before leaving the town. Local advice can also identify seasonal viewpoints that are absent from online maps.
Use the following habits to make the trip safer and the images more consistent:
- Carry water, sun protection, warm layers, and rain protection in every season.
- Photograph in RAW format and bracket difficult sunrise or sunset exposures.
- Use a polarising filter carefully, since excessive polarisation can darken uneven areas of sky.
- Keep a notebook of viewpoint, time, weather, lens, and exposure settings.
- Follow local guidance, avoid restricted areas, and leave no waste on trails.
A strong series should include establishing landscapes, close details, people and place, and quiet transitional moments. This approach tells the story of travelling through the Himalaya instead of presenting the mountain as an isolated object.
Return to Munsiyari with time to wait for changing light rather than trying to capture everything in one rushed outing. Share the finished photographs with accurate location notes and respectful captions so that the landscapes, communities, and mountain traditions of Uttarakhand receive the same attention as the summit itself.