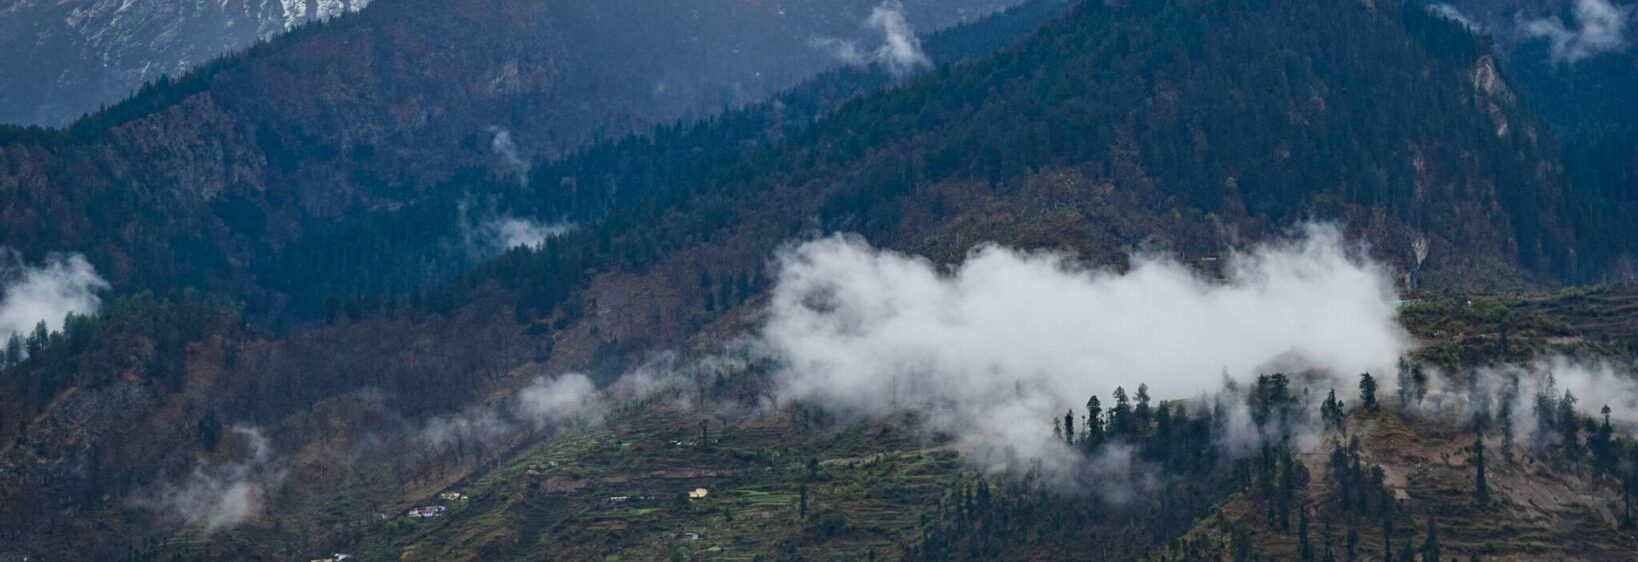
The Mukteshwar Cliff Jumps: Action Photography for Adventure Lovers
Mukteshwar is known for forested hills, Himalayan views, fruit orchards, and dramatic granite landscapes. For photographers, its rocky slopes create an exciting setting for capturing movement, height, and the raw energy of outdoor adventure.
The phrase “Mukteshwar cliff jumps” often refers to adventure activities around rocky ledges, rappelling points, and supervised outdoor experiences rather than a single officially designated jumping site. Conditions, access, and safety rules can change, so visitors should always follow local operator guidance.
A strong photograph begins before the action starts. Good planning helps you find the right viewpoint, understand the light, and record the atmosphere of Mukteshwar without encouraging reckless behaviour.
Finding The Right Adventure Setting
Mukteshwar’s cliffs and boulder formations can provide striking backgrounds, especially where open valleys reveal layers of Himalayan ridges. Look for compositions that place the participant against a clear sky or distant mountain wall, giving the image a strong sense of scale.
Rappelling, rock climbing, and carefully managed leaps may all create dynamic frames. However, a jump should only take place where it has been assessed and approved by a qualified local guide. Never treat an unmarked ledge, ravine, or waterfall pool as an adventure attraction.
Early morning usually offers softer light and clearer details, while late afternoon adds warm tones to rock faces. Check weather conditions before leaving, since rain can make granite slippery and fog can reduce visibility around exposed terrain.
Camera Settings For Fast Movement
Action photography benefits from a fast shutter speed. Start around 1/1000 second for a clear freeze-frame, then adjust according to available light. Continuous autofocus and burst mode help capture the exact moment when a person leaves the ground or reaches a rappel point.
A wide-angle lens is useful for showing the landscape, while a moderate telephoto lens allows you to photograph from a safer distance. Keep both hands free when moving near uneven ground, and use a secure camera strap rather than standing close to an edge for a dramatic angle.
Shoot in RAW if possible. This preserves detail in bright skies and dark rock, giving you greater control when editing contrast, shadows, and highlights later.
Creating A Sense Of Height
A successful cliffside image does not need to show extreme risk. Scale can be created by placing a small figure against a broad valley, using leading lines in the rock, or including a guide, rope, or nearby tree for visual comparison.
Lower viewpoints can make a controlled activity appear more powerful, but the photographer must remain in a designated safe area. Ask the operator where photography is permitted before setting up, particularly around ropes, climbing routes, and landing zones.
Avoid blocking the path of participants or distracting them during a technical movement. The best adventure photographs are made when the subject can concentrate fully and the photographer respects the rhythm of the activity.
Planning A Safe Photo Session
| Photography need | Practical approach | Safety consideration |
|---|---|---|
| Frozen action | Use a fast shutter and burst mode | Keep away from landing and rope zones |
| Dramatic landscape | Use a wide lens and low viewpoint | Stay behind marked boundaries |
| Natural expressions | Photograph from a distance | Avoid shouting or distracting participants |
| Changing mountain light | Carry spare batteries and a lens cloth | Stop work if rain or fog worsens |
| Environmental detail | Include rocks, trees, and valley lines | Do not climb fragile or restricted surfaces |
Wear shoes with firm grip and carry only essential equipment. A lightweight camera body, one versatile lens, spare memory cards, and a dry bag are often more practical than a large kit on steep trails.
Local knowledge is especially valuable. Guides can identify stable viewpoints, explain access restrictions, and help coordinate the timing of a shoot. For wider travel inspiration and visual references from the region, browse Uttarakhand photo stories before planning a visit.
Choosing The Best Composition
Try several framing styles during the same session. A horizontal image can show the full mountain setting, while a vertical frame may emphasize the drop, rope line, or upward movement of a climber.
Leave space in front of a moving subject so the viewer’s eye can follow the action. Place the person away from the exact centre when the surrounding landscape provides strong shapes, such as a sloping ridge or a diagonal cliff face.
Human expressions also matter. A close image of concentration, a guide checking equipment, or a climber preparing for descent can tell a more complete story than a single airborne frame.
Recommendations For Responsible Adventure Photography
- Work only with qualified local guides and authorised activity providers.
- Confirm that cliff access and photography are permitted before setting up.
- Keep a safe distance from edges, ropes, landing areas, and unstable rocks.
- Use weather-resistant protection for cameras, phones, batteries, and memory cards.
- Respect local residents, other visitors, wildlife, and the natural landscape.
Mukteshwar rewards patience: wait for clean light, a clear background, and a naturally expressive moment rather than forcing an unsafe pose. Combine action frames with portraits, trail details, and wide mountain views to create a richer visual record of the journey.
Explore more Uttarakhand destinations through the UK Photos Gallery, then plan a responsible Mukteshwar photography day that places safety, local guidance, and memorable images at the centre of the experience.