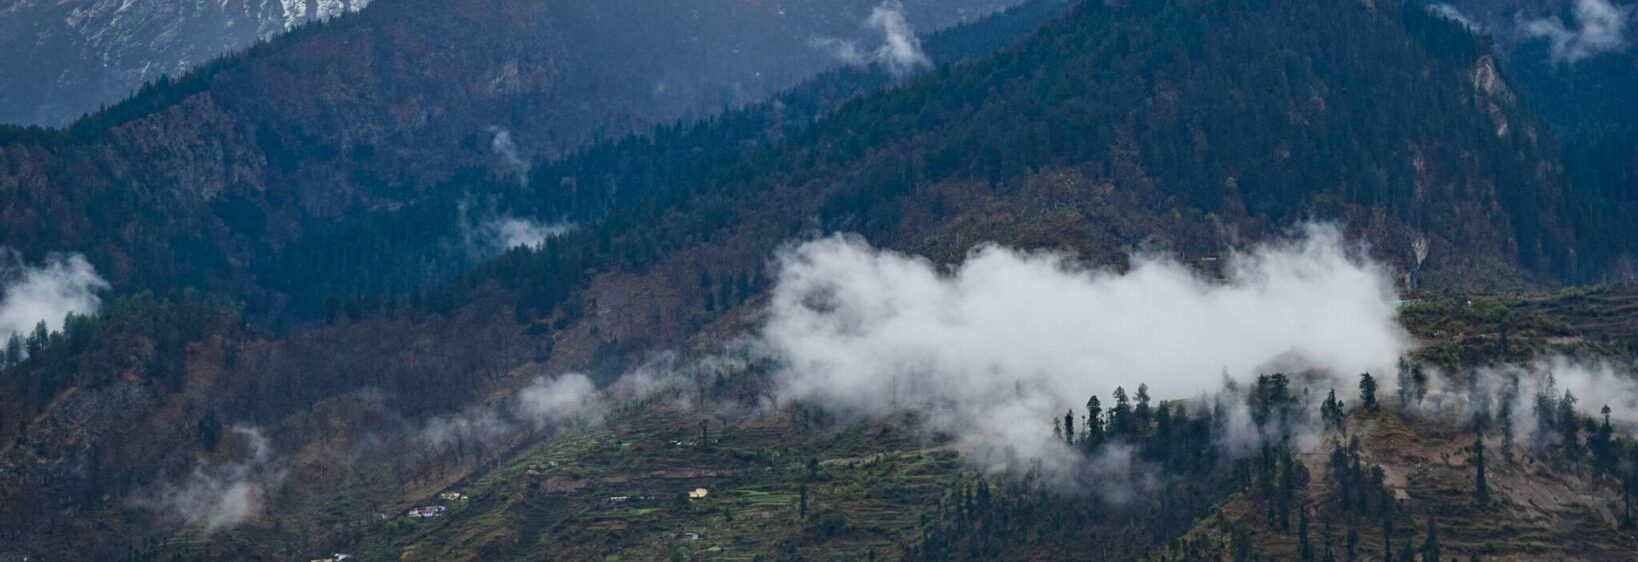
Photographing the Milky Way over the Uttarakhand hills
Uttarakhand’s mountain landscapes become almost unrecognisable after sunset. Pine ridges, high meadows, temple silhouettes, and snow-covered peaks fade into darkness while thousands of stars appear above them. For photographers, this creates an ideal setting for night-sky images with a strong sense of place.
Successful astrophotography in the Himalayas depends on more than an advanced camera. Clear weather, limited light pollution, thoughtful composition, and careful preparation all matter. The best photographs balance the Milky Way with a recognisable Uttarakhand foreground.
A little planning also makes the experience safer and more enjoyable. Mountain roads are difficult after dark, temperatures drop quickly, and remote locations may have limited phone coverage.
Why Uttarakhand suits night-sky photography
Many hill destinations in Uttarakhand sit far from large urban centres. Areas around Chopta, Deoria Tal, Kanatal, Munsiyari, and parts of Rudraprayag can offer remarkably dark skies when the moon is faint and the weather is stable. Higher elevations also provide clear views above valley haze.
The landscape adds visual depth to a star photograph. A dark cedar forest, a stone trail, a village roof, or a distant Himalayan ridge can anchor the lower part of the frame while the galactic band rises overhead.
Choosing a location away from light pollution
Avoid bright towns, busy highways, resorts with powerful outdoor lighting, and popular viewpoints close to city centres. Even a small amount of artificial light can reduce the contrast of faint stars. Visit the area in daylight first and identify a safe place with an unobstructed view.
Chopta is especially appealing because its alpine meadows and ridgelines provide open horizons; a daytime Chopta day trip can help you scout viewpoints before attempting a night shoot. Do not block trekking routes, disturb grazing animals, or enter forest areas without local guidance.
Timing, weather, and the moon
The Milky Way is most visible when the sky is clear and the moon is below the horizon. Check a moon-phase calendar and an astronomy app before travelling. In northern India, the clearest conditions are often found during stable periods before or after the monsoon, although local weather can change quickly in the mountains.
Cloud cover is not always a failure. Thin clouds can create texture around the stars, while mist may produce a dramatic layered landscape. However, heavy haze, rain, and strong winds make long exposures difficult. Allow more than one night whenever possible.
Camera settings that create clean results
A camera with manual controls and a wide, bright lens is a practical starting point. Use a sturdy tripod, turn off image stabilisation when the camera is mounted, and shoot in RAW so that colour and shadow detail can be adjusted later.
| Setting | Useful starting point | Purpose |
|---|---|---|
| Aperture | f/1.4–f/2.8 | Collects more starlight |
| Shutter speed | 10–25 seconds | Limits star movement |
| ISO | 1600–6400 | Brightens the night sky |
| Focus | Manual, near infinity | Keeps stars sharp |
| White balance | será 3500–4500K | Controls warm light pollution |
Test several exposures rather than relying on one formula. At high altitude, cold batteries lose power quickly, so keep a spare battery inside an insulated pocket and carry a small headlamp with a red-light mode.
Composition beyond the stars
Place the Milky Way diagonally above a mountain ridge, temple roof, suspension bridge, or lone tree to give the image direction. A human figure, tent, or shepherd’s shelter can communicate scale, provided it is included respectfully and without disturbing anyone.
Foreground detail may need a separate exposure because the sky and land require different brightness levels. You can capture one image for the stars and another for the landscape, then blend them carefully while preserving a natural appearance. A brief light-painting effect can work, but excessive artificial light quickly makes a Himalayan scene look unnatural.
Camping near a river can offer reflective foregrounds and a strong sense of adventure; information about Ganges riverside camps may help when planning a broader Uttarakhand photography journey. Riverside locations near Rishikesh generally have more ambient light than remote hill camps, so treat them as landscape and camping subjects rather than guaranteed dark-sky sites.
A safe and respectful night shoot
Reach the location before sunset, mark the route back, and avoid walking near cliffs or steep drops in darkness. Wear layered clothing, non-slip shoes, and carry water, a first-aid kit, power bank, and offline map. Inform a local host or travel companion about your shooting plan.
Respect village customs and protected areas. Ask permission before photographing residents, avoid shining lights into homes, and keep noise low near temples, camps, and forest edges. Leave no plastic, food packaging, or disposable batteries behind.
Practical habits for stronger images
Small routines often improve results more than expensive equipment. Use these habits on every mountain night:
- Check moonrise, cloud cover, and the Milky Way position before leaving.
- Scout the foreground and set up during daylight.
- Use a two-second timer or remote shutter to prevent vibration.
- Take several focus and exposure tests before settling on a composition.
- Keep batteries, memory cards, and clothing protected from cold and moisture.
Return to the same viewpoint in different seasons and compare the changes in snow, vegetation, cloud, and star visibility. Uttarakhand’s night landscapes reward patience, and a carefully planned session can produce photographs that preserve both the grandeur of the sky and the character of the hills.
Choose a safe dark-sky location, wait for a clear moonless window, and give yourself time to work slowly. With a tripod, a wide lens, and respect for the mountain environment, your photographs can turn an ordinary night in Uttarakhand into a lasting visual journey.